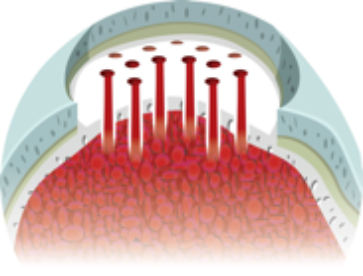
Guidance for use in cartilage repair
NanoFx surgical technique
01.
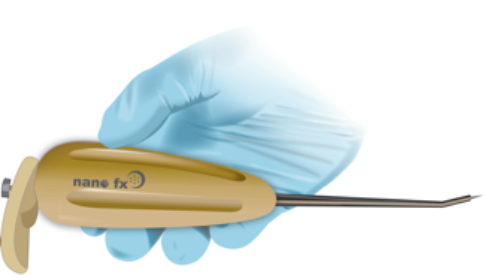
The Arthrosurface NanoFx PleuriStik Guide Wire (with Thumb Tab Accessory attached) is placed tip first into the proximal lumen of the Hand Instrument.
Note: The Thumb Tab Accessory will be used later to expedite removal and repositioning of the PleuriStik Guide Wire.
02.
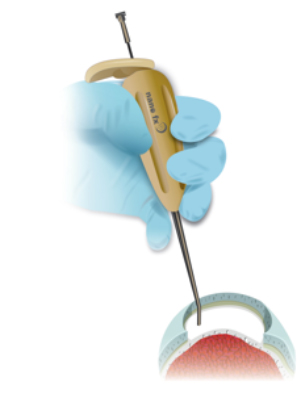
Place the distal tip of the NanoFx Hand Instrument at the target site, approximately 2 mm from the healthy cartilage wall.
03.
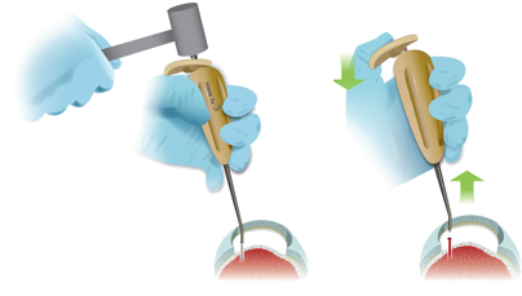
A light mallet strike on the exposed proximal tailstock of the PleuriStik Guide Wire is sufficient to drive the PleuriStik Guide Wire to its full depth of 9 mm. After this is achieved, use the Thumb Tab for one-handed extraction of the PleuriStik Guide Wire.
04.
Once the PleuriStik Guide Wire is removed, reposition to create additional penetration sites approximately 2 mm apart. Use a systematic spiral pattern of microfracture penetrations of the subchondral bone plate throughout the cartilage lesion, allowing for a homogeneous distribution of the microfractures while maintaining sufficient subchondral bone bridges between individual penetrations.
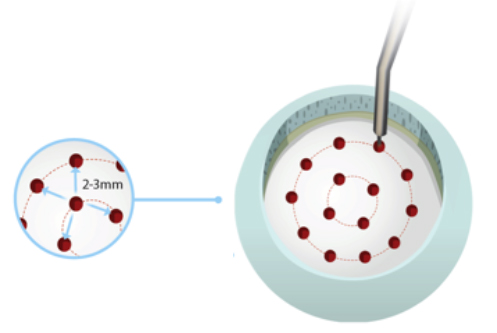
05.
The NanoFx channels are created until there are a sufficient quantity.
